Ho to Make Smart Art Fit Properly in Word on Mac
Lesson 28: SmartArt Graphics
/en/word/inspecting-and-protecting-documents/content/
Introduction
SmartArt allows you to communicate information with graphics instead of just using text. There are a diversity of styles to choose from, which you tin utilize to illustrate many different types of ideas.
Watch the video below to learn more nigh working with SmartArt.
To insert a SmartArt graphic:
- Place the insertion point in the document where you lot want the SmartArt graphic to announced.
- From the Insert tab, select the SmartArt command in the Illustrations group.

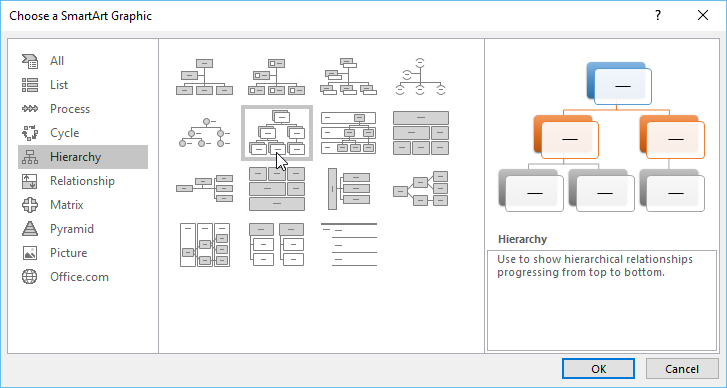
- A dialog box will appear. Select a category on the left, choose the desired SmartArt graphic, and then click OK.
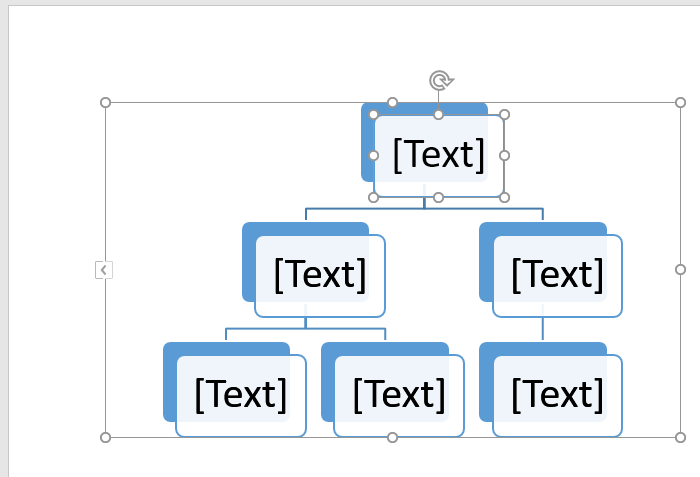
- The SmartArt graphic will appear in your document.
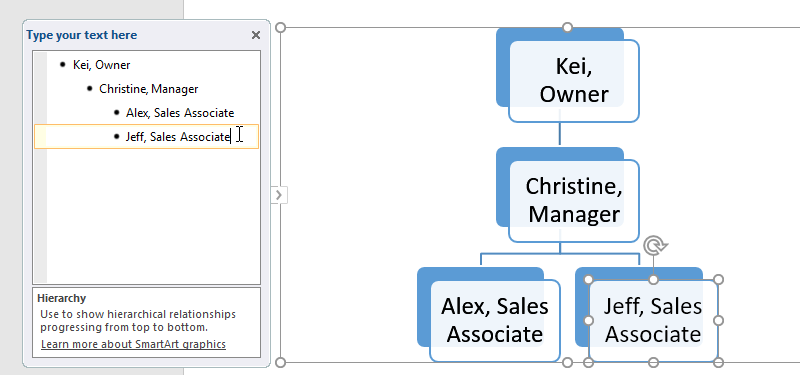
To add text to a SmartArt graphic:
- Select the SmartArt graphic. The text pane should appear on the left side. If information technology doesn't appear, yous tin click the pocket-sized pointer on the left edge of the graphic.. If it doesn't announced, click the small arrow on the left of the SmartArt to toggle it on and off.
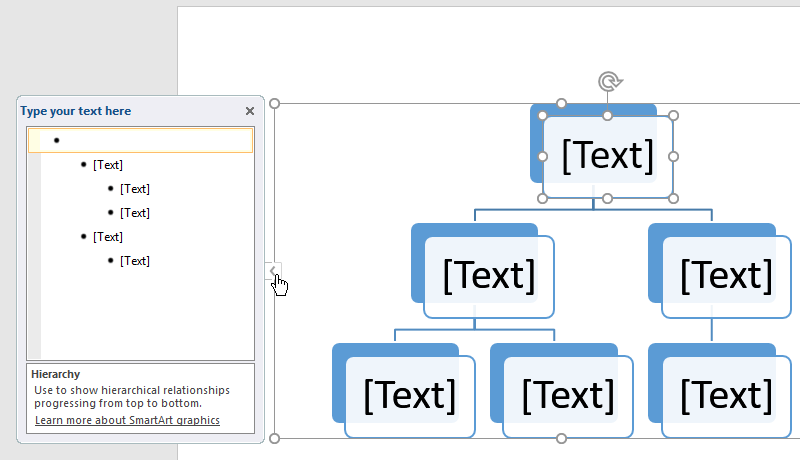
- Enter text next to each bullet in the text pane. The text volition appear in the corresponding shape. Information technology will be resized automatically to fit within the shape.
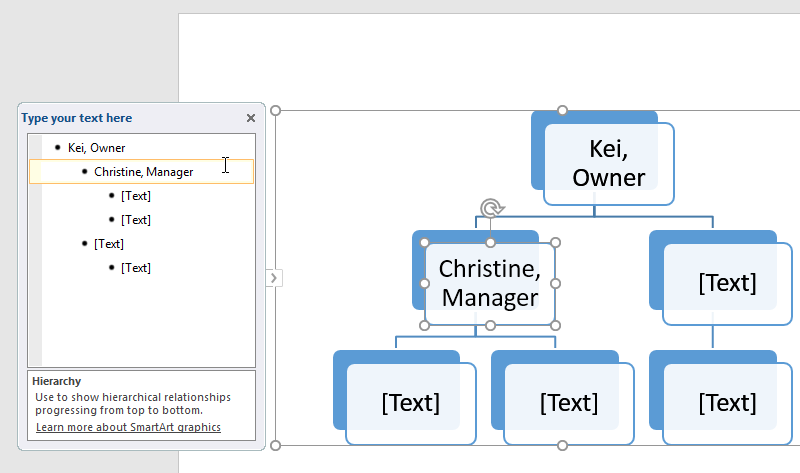
Yous can also add text by clicking the desired shape and then typing. This works well if y'all only need to add text to a few shapes. Even so, for more circuitous SmartArt graphics, working in the text pane is often faster and easier.
To reorder, add, and delete shapes:
It'south piece of cake to add new shapes, modify their club, and even delete shapes from your SmartArt graphic. You can do all of this in the text pane, and it's a lot similar creating an outline with a multilevel list. For more data on multilevel lists, you may want to review our Lists lesson.
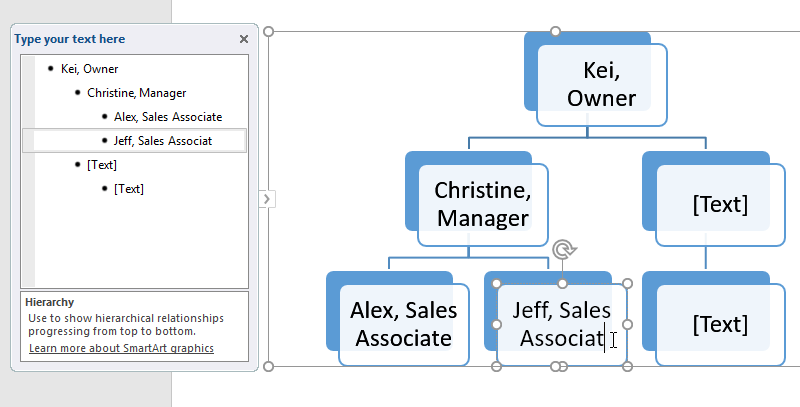
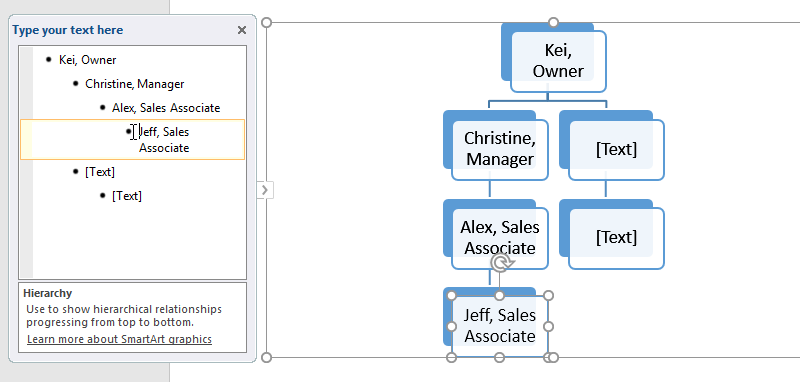
- To demote a shape, select the desired bullet, and then press the Tab central. The bullet will move to the right, and the shape will move downwardly one level.
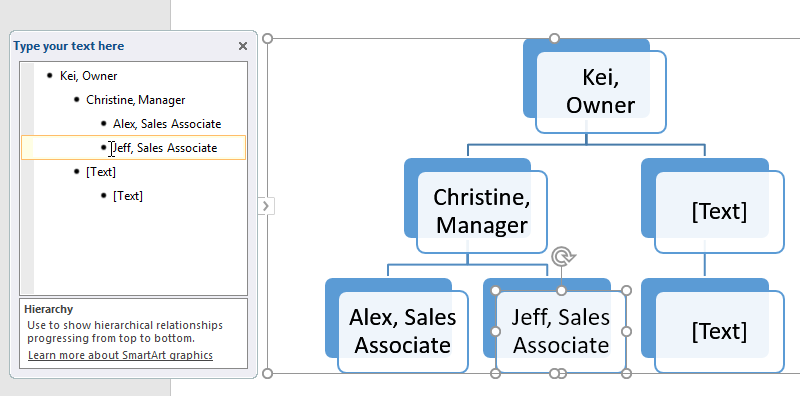
- To promote a shape, select the desired bullet, and so press the Backspace fundamental (or Shift+Tab). The bullet will motility to the left, and the shape will motion upward i level.
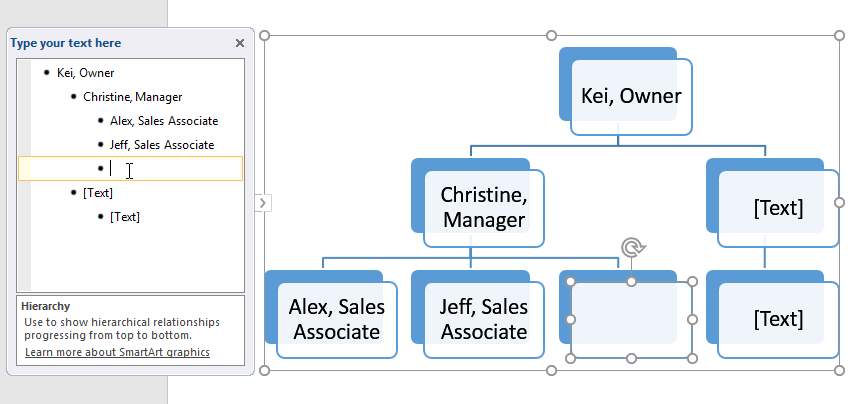
- To add a new shape, place the insertion point after the desired bullet, then press Enter. A new bullet will appear in the text pane, and a new shape will appear in the graphic.
- To remove a shape, keep pressing Backspace until the bullet is deleted. The shape volition then be removed. In our example, nosotros'll delete all of the shapes without text.
Organizing SmartArt from the Design tab
If yous'd prefer not to use the text pane to organize your SmartArt, you can use the commands on the Design tab in the Create Graphic group. Just select the shape y'all want to modify, then cull the desired command.
- Promote and Bench: Use these commands to move a shape upwardly or downwardly between levels.

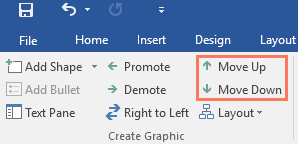
- Move Up and Motility Down: Use these commands to change the society of shapes on the same level.
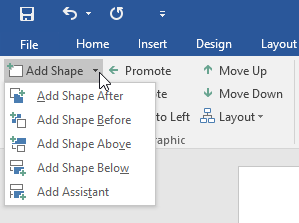
- Add Shape: Employ this command to add a new shape to your graphic. You tin besides click the drib-downwards pointer for more verbal placement options.
In our example, we've been organizing a graphic with a hierarchical layout. Non all SmartArt graphics use this blazon of layout, then recollect that these commands may piece of work differently (or not at all) depending on the layout of your graphic.
Customizing SmartArt
After inserting SmartArt, there are several things y'all might want to modify about its appearance. Whenever you select a SmartArt graphic, the Design and Format tabs will announced on the correct side of the Ribbon. From in that location, it'southward easy to edit the style and layout of a SmartArt graphic.
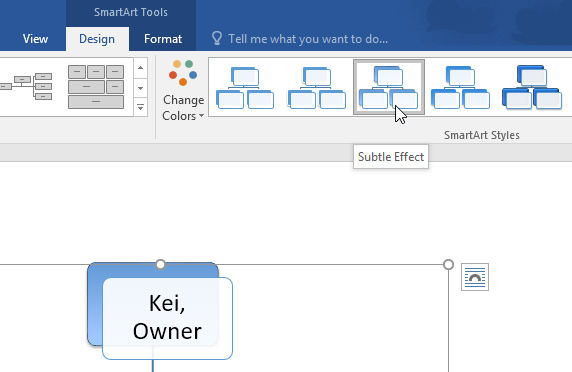
- There are several SmartArt styles, which permit you to chop-chop modify the look and feel of your SmartArt. To alter the style, select the desired style from the SmartArt styles group.
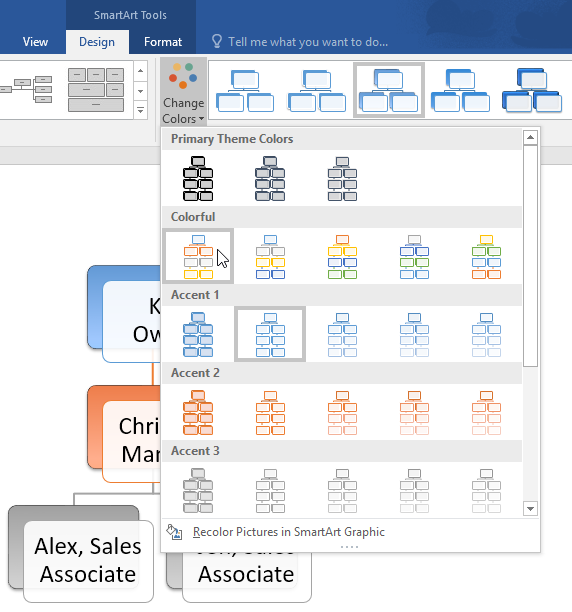
- You lot take a variety of colour schemes to use with SmartArt. To change the colors, click the Change Colors command and choose the desired option from the drop-down menu.
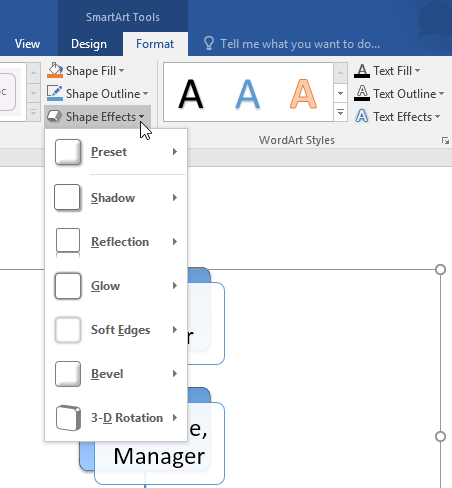
- You can too customize each shape independently. Just select any shape in the graphic, then choose the desired option from the Format tab.
To change the SmartArt layout:
If you don't like the way your information is organized within a SmartArt graphic, you tin can always alter its layout to improve fit your content.
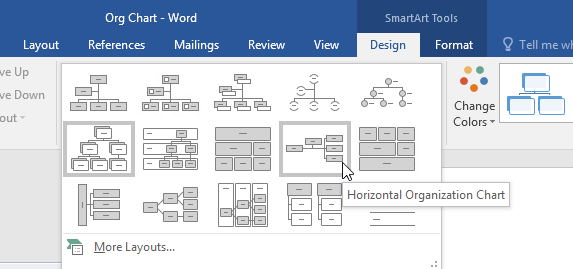
- From the Pattern tab, click the More than drop-down arrow in the Layouts group.

- Choose the desired layout, or click More Layouts to see even more options.
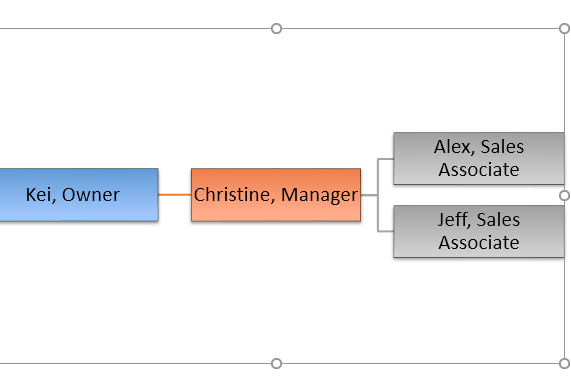
- The selected layout will appear.
If the new layout is besides different from the original, some of your text may not appear. Earlier deciding on a new layout, check advisedly to brand certain no important information will be lost.
Claiming!
- Open a blank document.
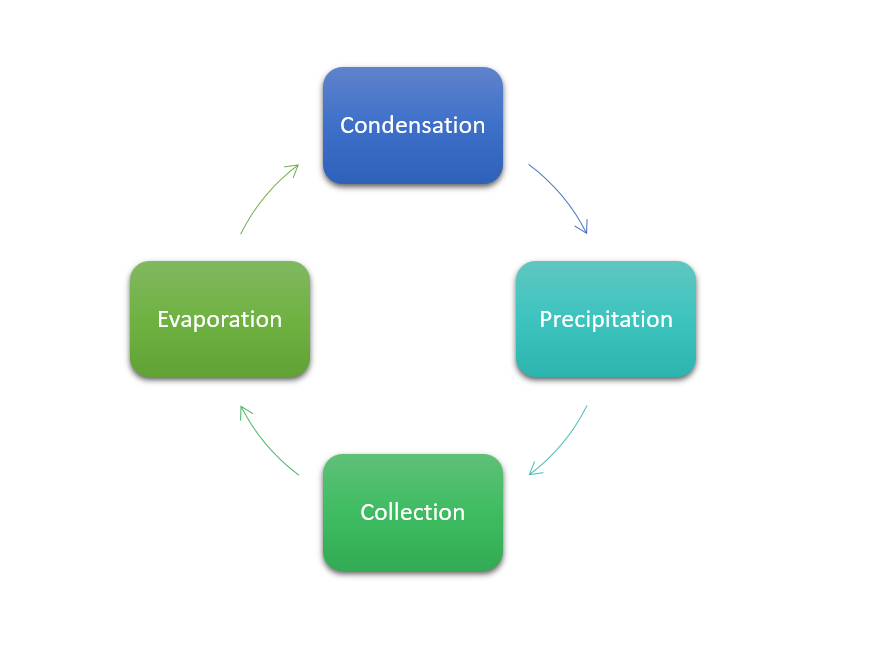
- Insert a Basic Bicycle SmartArt graphic from the Wheel category.
- Insert the following text in clockwise order: Condensation, Evaporation, Infiltration, Atmospheric precipitation, Collection.
- Delete the shape containing the word Infiltration.
- Select the shape containing Evaporation, and click the Move Downwards command twice to movement the shape between Collection and Condensation.
- Change the SmartArt Layout to Block Cycle.
- Alter the colors of the SmartArt to a range of your option.
- Change the SmartArt Manner to Intense Consequence.
- When you're finished, your SmartArt should look like this:
/en/word/applying-and-modifying-styles/content/
Source: https://edu.gcfglobal.org/en/word/smartart-graphics/1/
0 Response to "Ho to Make Smart Art Fit Properly in Word on Mac"
Post a Comment